Luckily this isn’t going to require anything drastic, such as retyping the entire thing, or even something tedious, such as clicking and dragging to select the whole document. Our tutorial below will show you a quick way to select your entire document and apply a different font in Google Docs.
How to Change the Existing Font for an Entire Google Docs Document
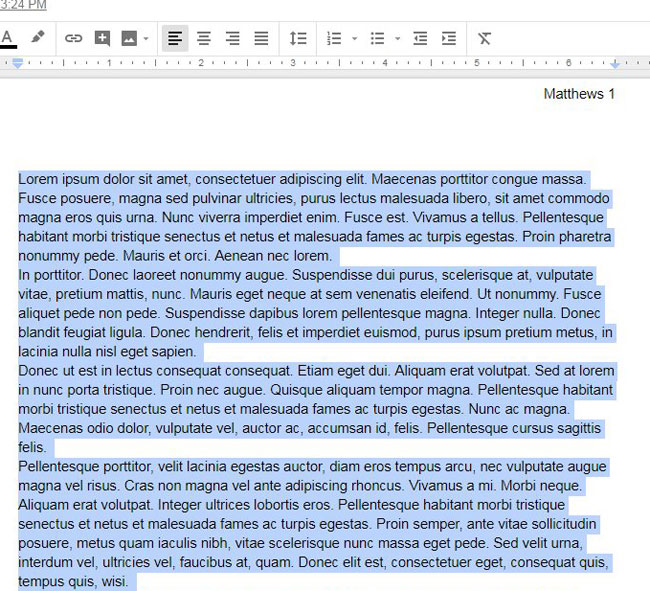
The steps in this article were performed in the desktop version of the Google Chrome Web browser, but they will also work in other desktop Web browsers like Firefox and Safari. Completing this guide will result in a document that is using the same font style across the entire document. This will not affect any font colors or sizes that are currently applied. It will only change the font style. Step 1: Sign into your Google Drive and open the Google Docs file for which you wish to change the existing font. Step 2: Click somewhere inside the document, then press Ctrl + A on your keyboard to select the entire document.
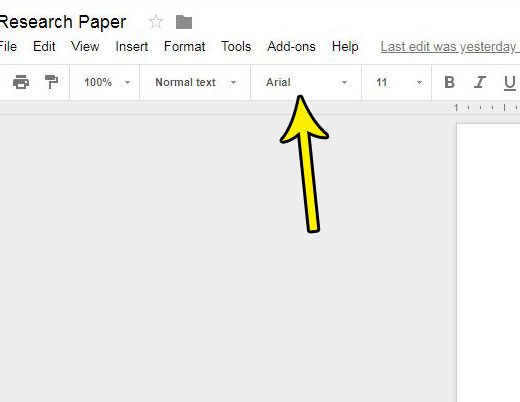
Step 3: Click the Font dropdown menu in the toolbar above the document body.
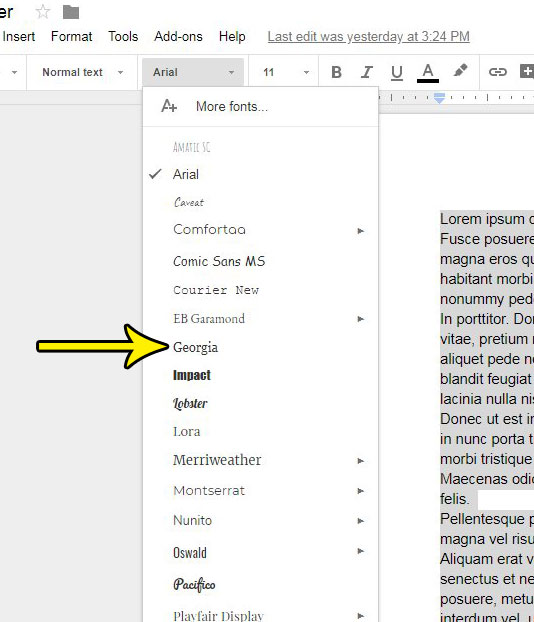
Step 4: Choose the font that you would like to use for the document. After clicking the desired font the entire document will update to reflect the change.
Note that this will not change the font for any text in your header or footer. If you need to change the font in those sections of the document, then you will need to click inside the header or footer and repeat these steps there as well. Are you changing your font because your school or job requires you to use a specific one? Find out how to add your last name and a page number to the top-right of the document if that is another formatting requirement for the paper that you are writing. He specializes in writing content about iPhones, Android devices, Microsoft Office, and many other popular applications and devices. Read his full bio here.


