Print Out a Sheet of Empty Cells in Excel 2010
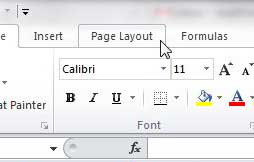
If you need to physically write out a checklist or take an inventory, then the structure of a blank Excel 2010 document can be appealing. It will keep all of your information from running together, while also providing a means for you to keep the data organized. But even if you fill out the information in the first column of an Excel spreadsheet, the rest of the cells will not print unless you have entered data into their columns. But there is a solution to this problem that will allow you to generate any size printed spreadsheet you require. Step 1: Launch Microsoft Excel 2010. Step 2: Adjust the width and height of your columns as needed, and enter any information into the cells that you wish. You do not need to enter any information to make this work, but you can if you need to. Step 3: Click the Page Layout tab at the top of the window.
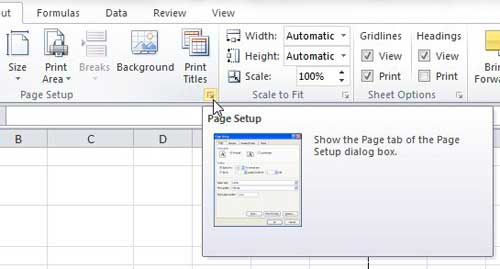
Step 4: Click the Page Setup button at the bottom-right corner of the Page Setup section of the ribbon.
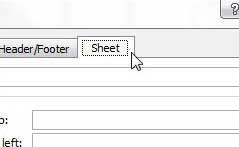
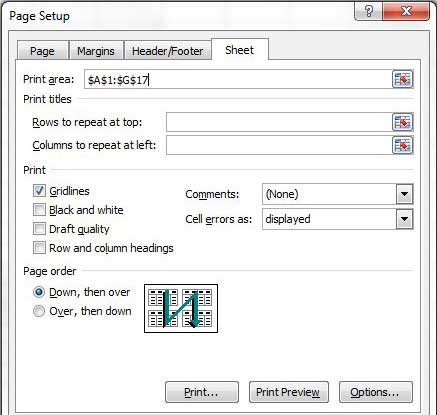
Step 5: Click the Sheet tab at the top of the window.
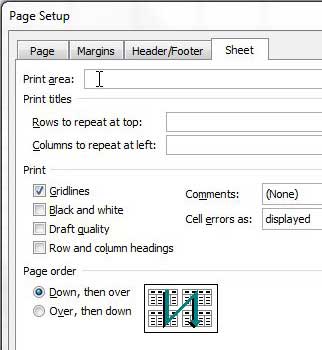
Step 6: Check the box to the left of Gridlines, then click inside the Print Area field at the top of the window.
Step 7: Use your mouse to select all of the empty cells that you want to print. Note that this will populate the Print Area field with values that correspond to the cells that you just selected.
After the print area has been selected, click the Print Preview button to see how to printed document will look, then click the Print button to create the Excel 2010 sheet of empty cells. After receiving his Bachelor’s and Master’s degrees in Computer Science he spent several years working in IT management for small businesses. However, he now works full time writing content online and creating websites. His main writing topics include iPhones, Microsoft Office, Google Apps, Android, and Photoshop, but he has also written about many other tech topics as well. Read his full bio here.
You may opt out at any time. Read our Privacy Policy
