Fortunately you can clear a print area from an Excel 2013 spreadsheet by following just a few steps.
Removing a Set Print Area in Excel 2013
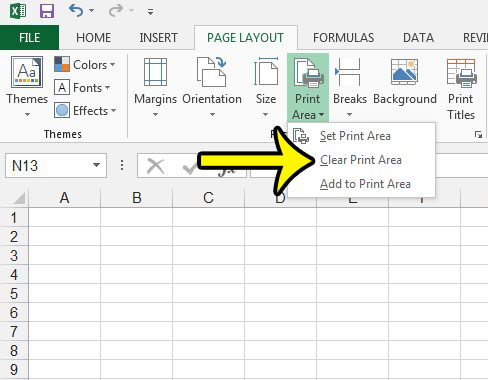
The steps in this article will assume that your current Excel spreadsheet has a set print area. You can typically tell when this is occurring because only some of your spreadsheet is included when you print it, or your printed document includes extra rows or columns that do not contain any information. If you are experiencing an issue where you want to fit all of your columns on one page, and prevent additional pages from printing that only contain an extra column or two, then find out more about making an Excel worksheet fit on one page.
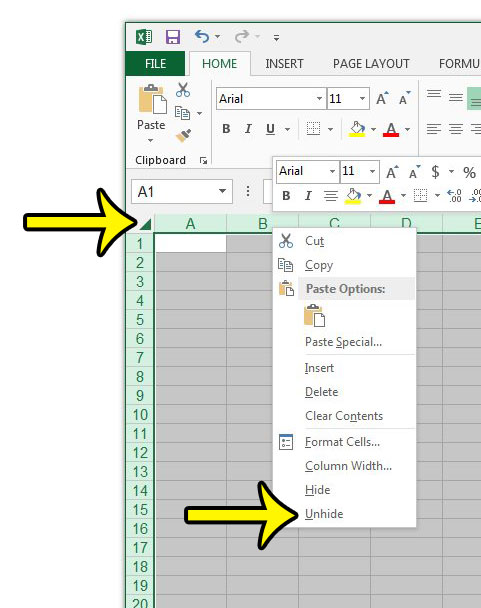
You should now be able to print the entire visible content of the worksheet from the Print menu. Note that any rows or columns which are hidden will not print. If you wish to unhide all of the rows or columns in your worksheet, then you can click the button above row 1 and to the left of column A to select the entire sheet. You can then right-click on a column letter, then click Unhide. Then click on a row number, and click Unhide. Any previously hidden rows or columns should now be visible.
Is your printed Excel spreadsheet difficult to read because there are no visible lines separating your cells? Learn how to print the lines in a spreadsheet in Excel 2013 to make it easier to understand. He specializes in writing content about iPhones, Android devices, Microsoft Office, and many other popular applications and devices. Read his full bio here.