Powerpoint has a tool that lets you specify sections of your presentation, which can make identifying these parts a lot easier. Once you have created a section in Powerpoint you can easily move around all of the slides in that section as a cohesive unit, which dramatically reduces confusion when re-ordering slides.
How to Create a Section in Powerpoint 2013
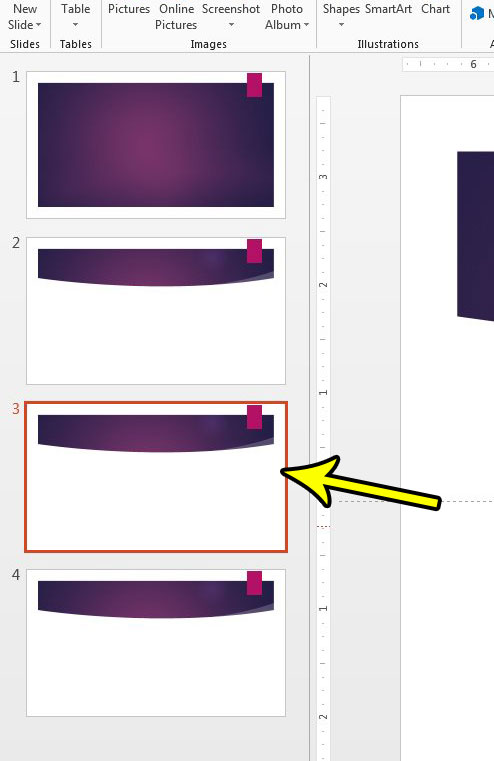
The steps in this article will show you how to add a section to your slideshow in Powerpoint 2013. Once you have created a section you will be able to rename it, move it, collapse it, and perform several other functions on the entire section of slides at once, rather than doing so to each slide individually. Step 1: Open your slideshow in Powerpoint 2013. Step 2: Select the first slide that you want to add to the section. Every slide after this first slide will be included in the section. You will need to create additional sections after this first one if you want only want to include some of these slides in the section.
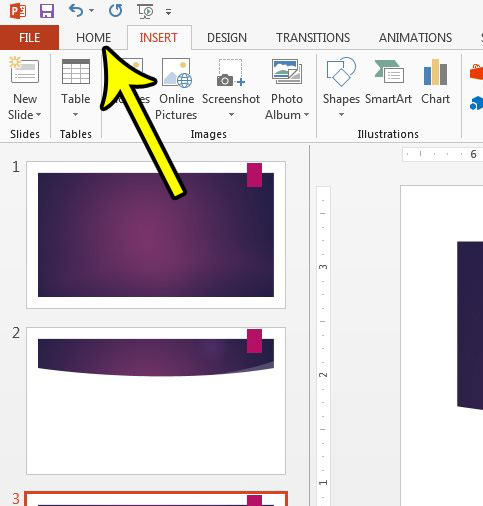
Step 3: Click the Home tab at the top of the window.
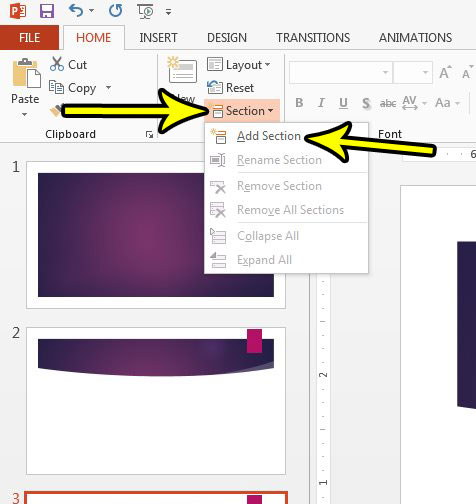
Step 4: Click the Section button, then select the Add Section option.
Would you like to change the name of your sections to make them a little easier to identify? Find out how to rename Powerpoint sections and add an additional layer of organization to your presentation. He specializes in writing content about iPhones, Android devices, Microsoft Office, and many other popular applications and devices. Read his full bio here.


